Oil seal change and regular maintenance on TM Racing Kayaba 48mm fork

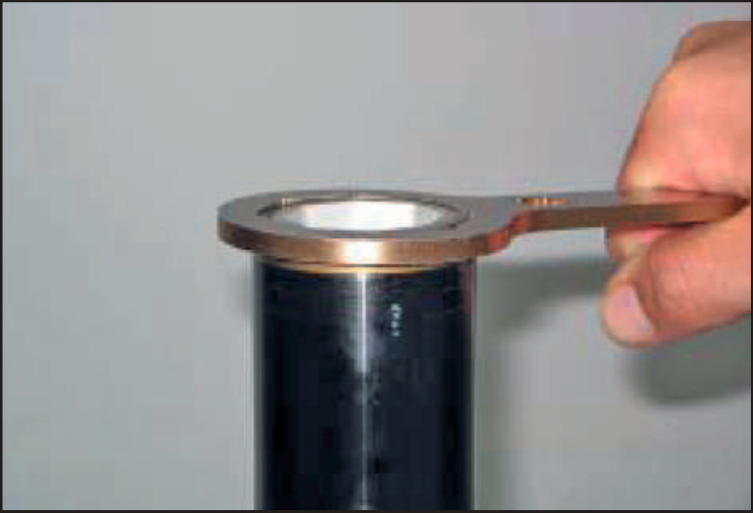
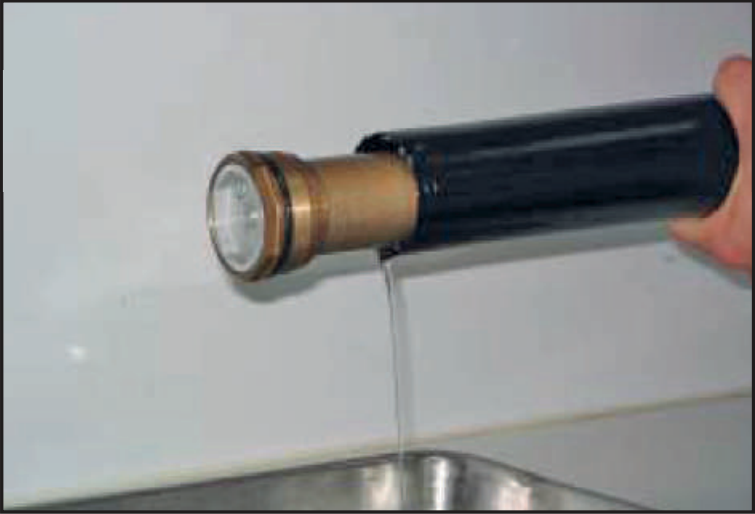
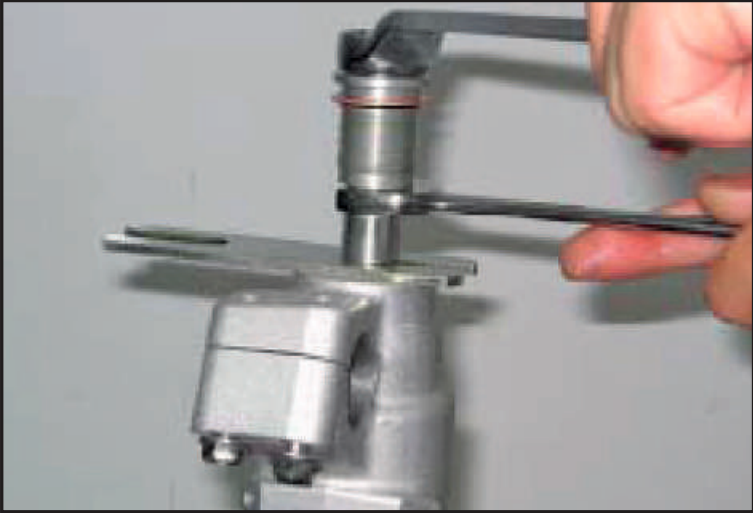
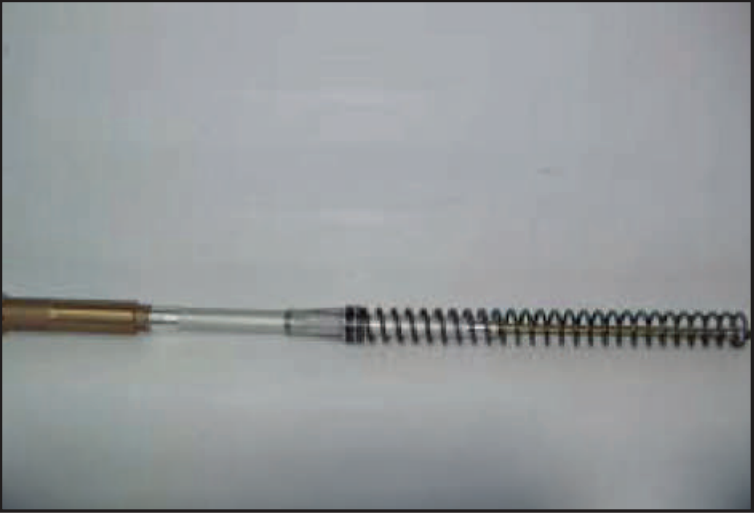
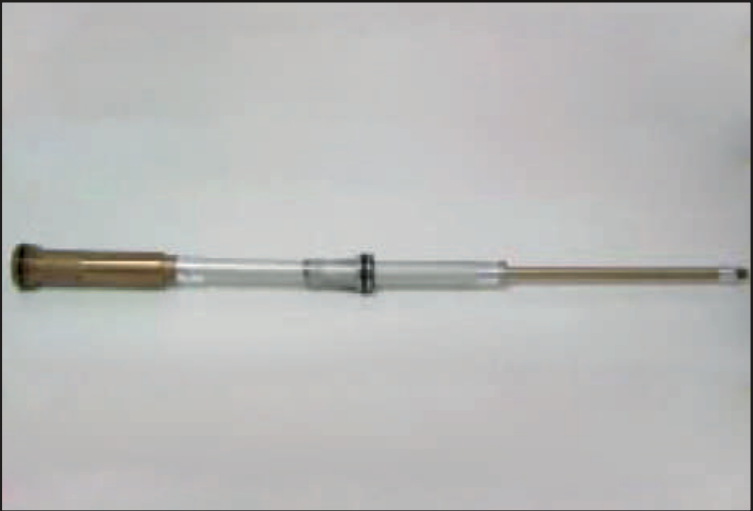
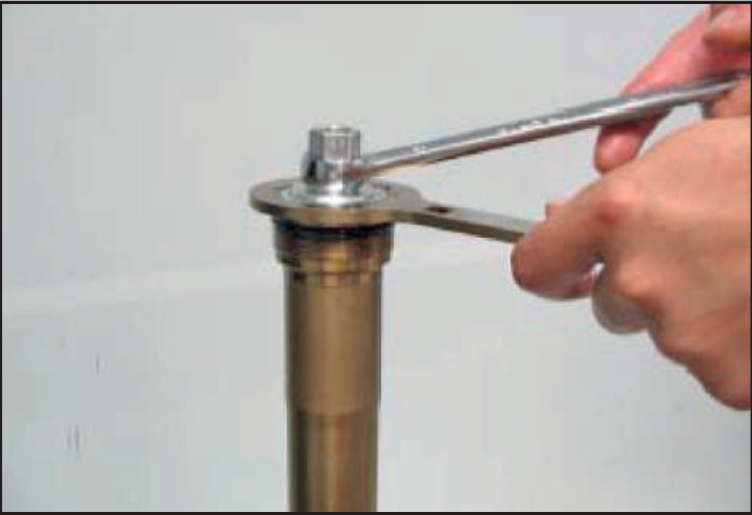
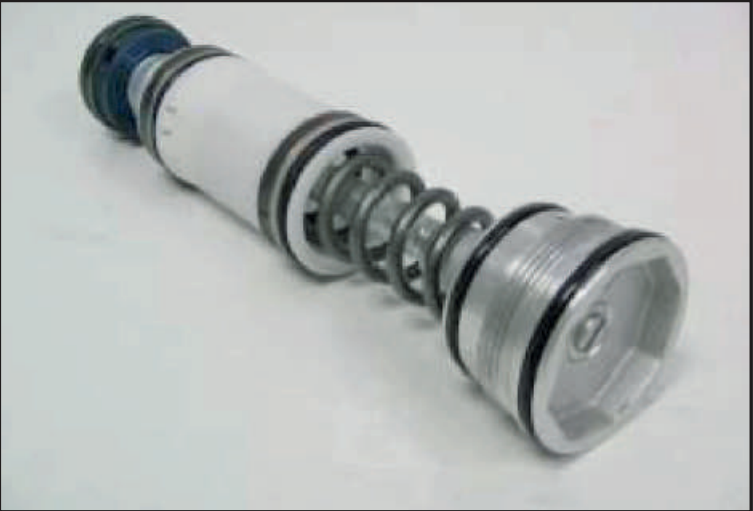
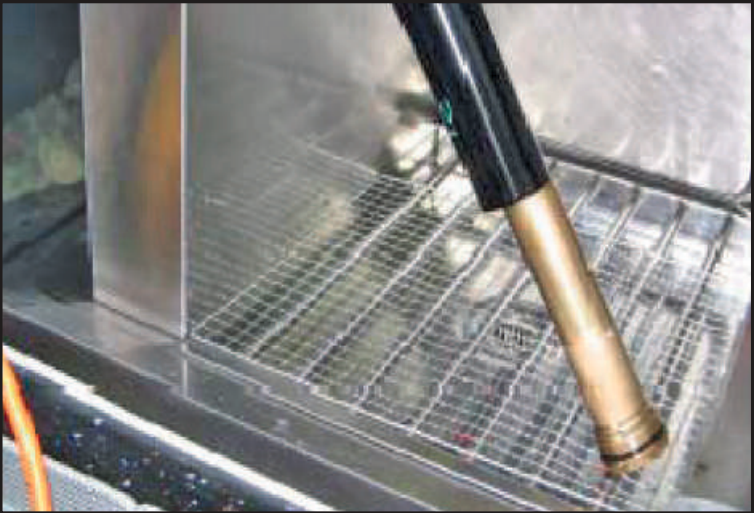
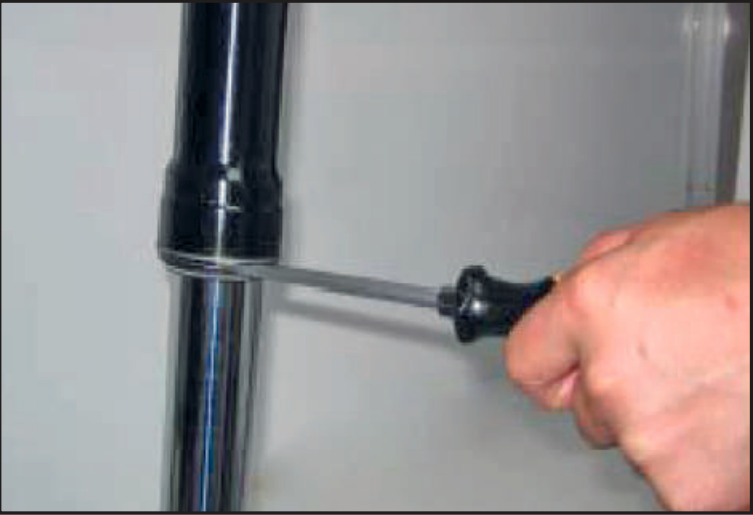
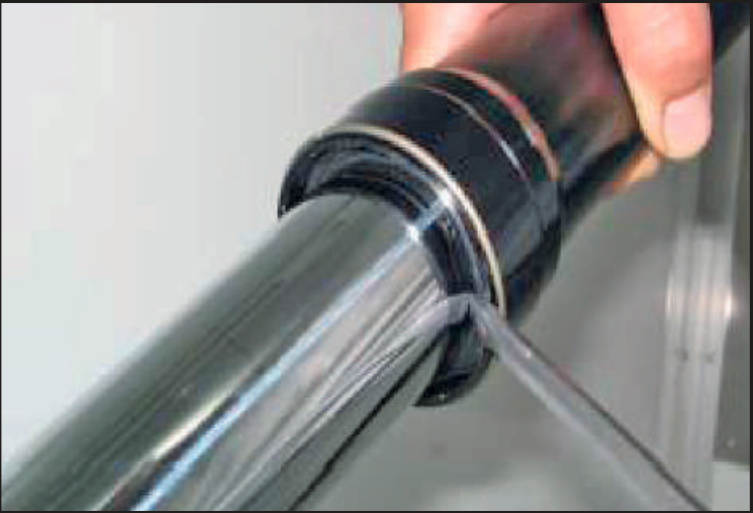
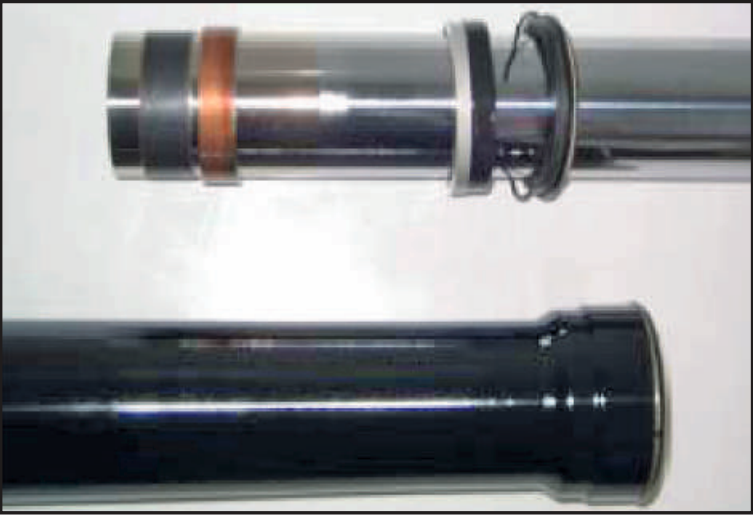
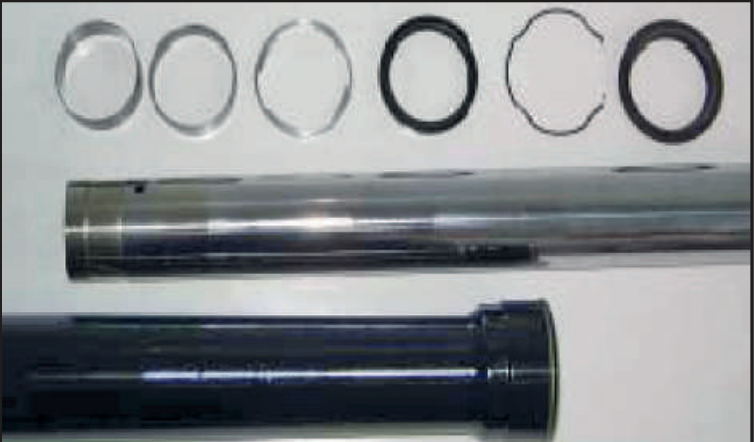
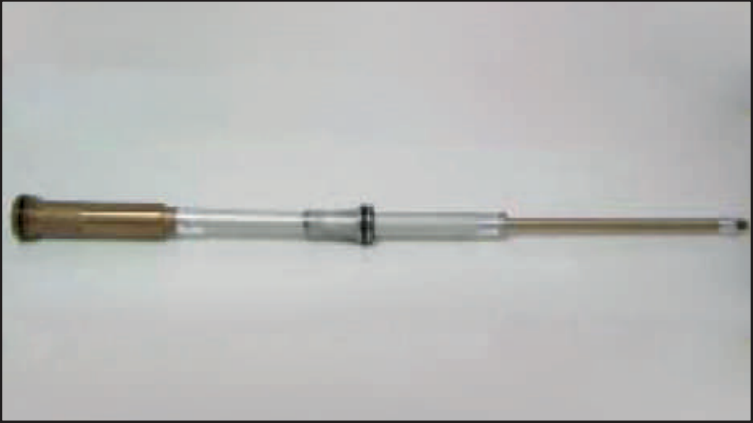
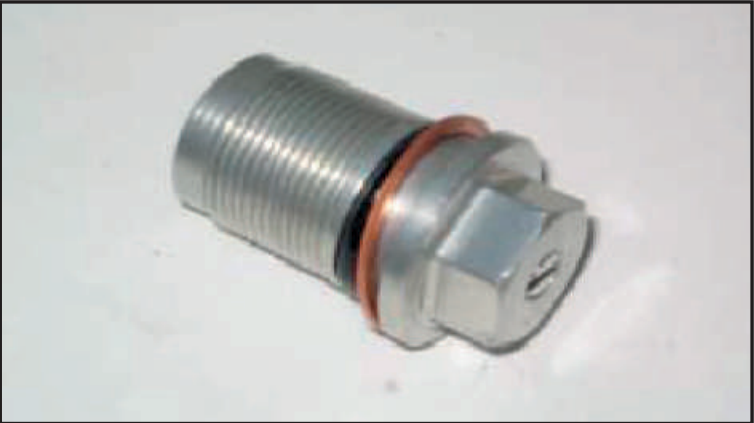
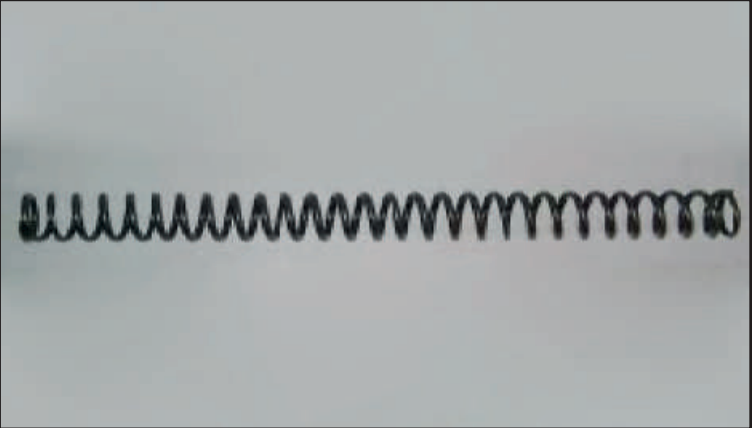
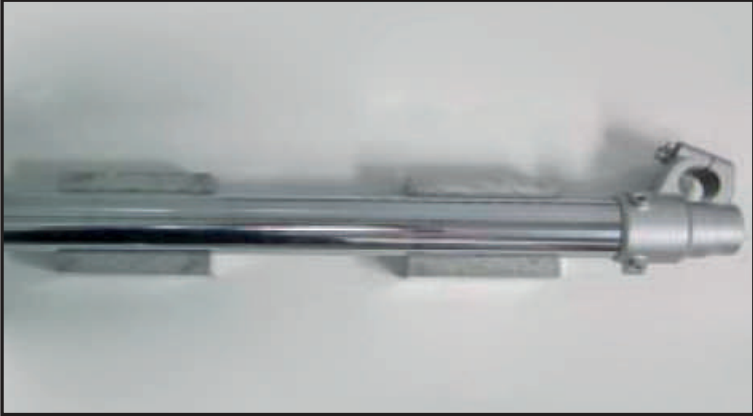
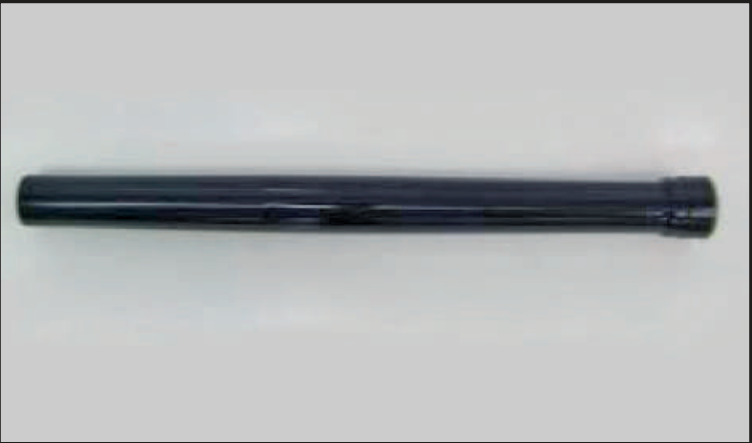
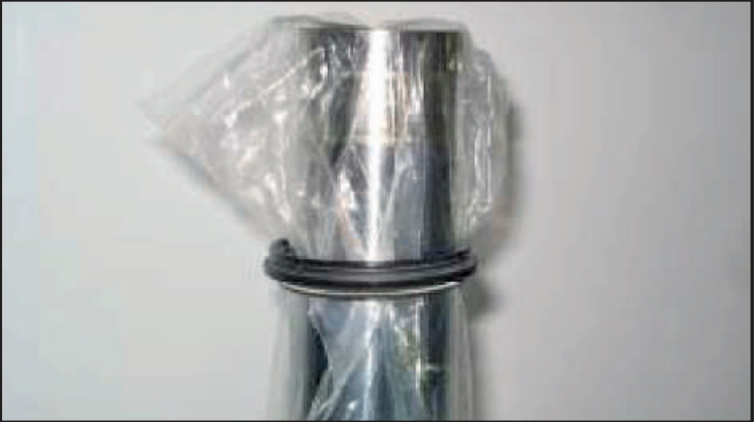
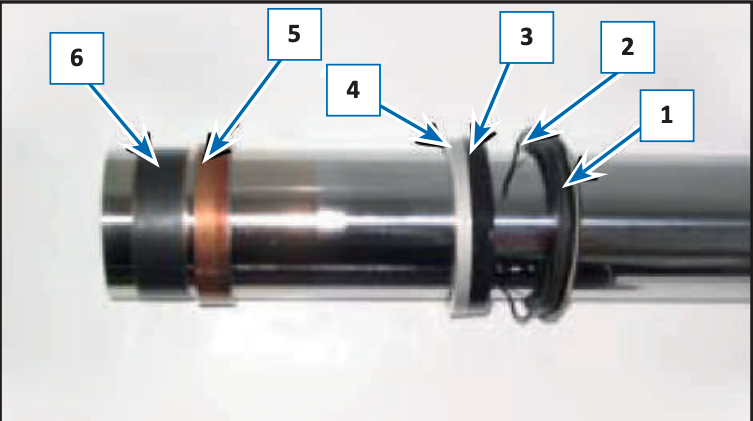
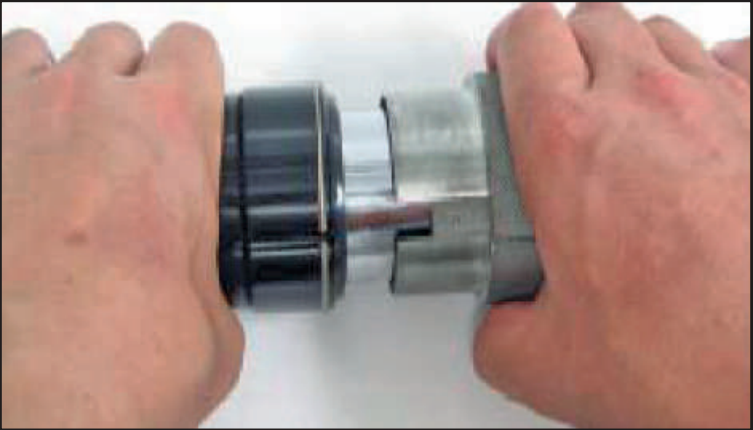
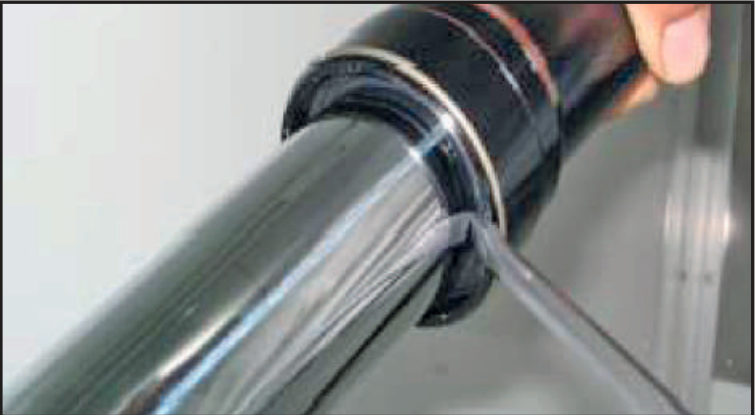
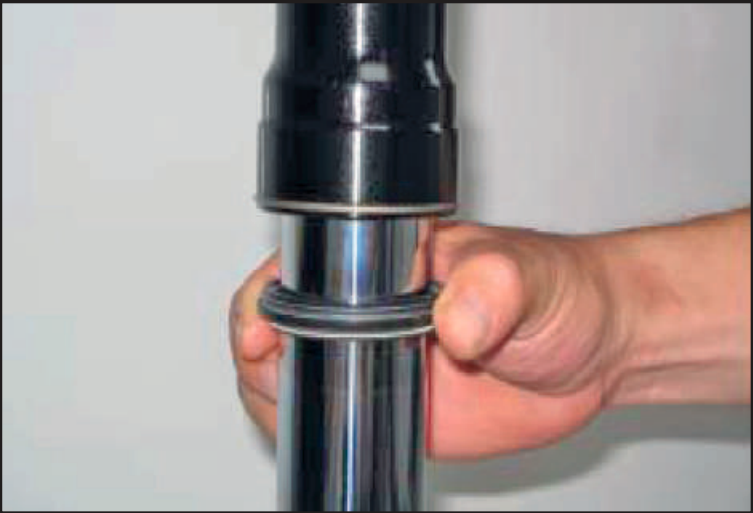
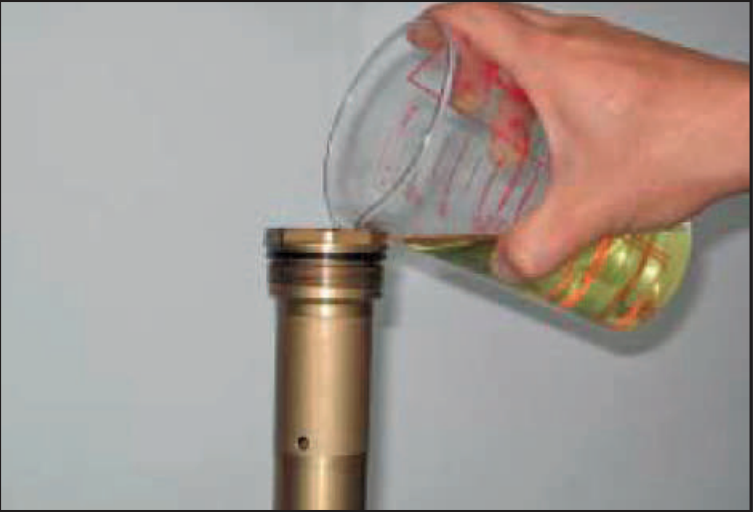
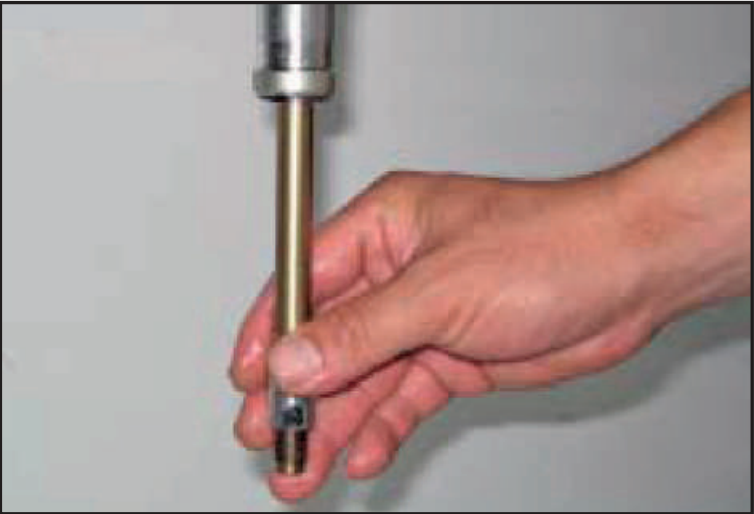
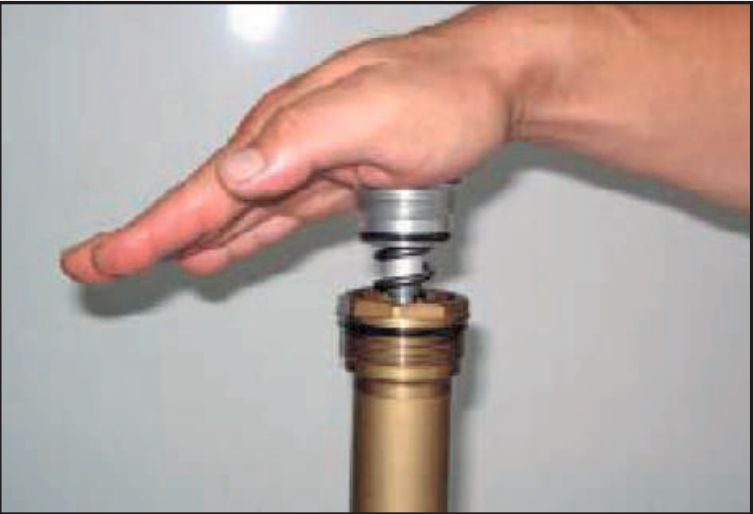
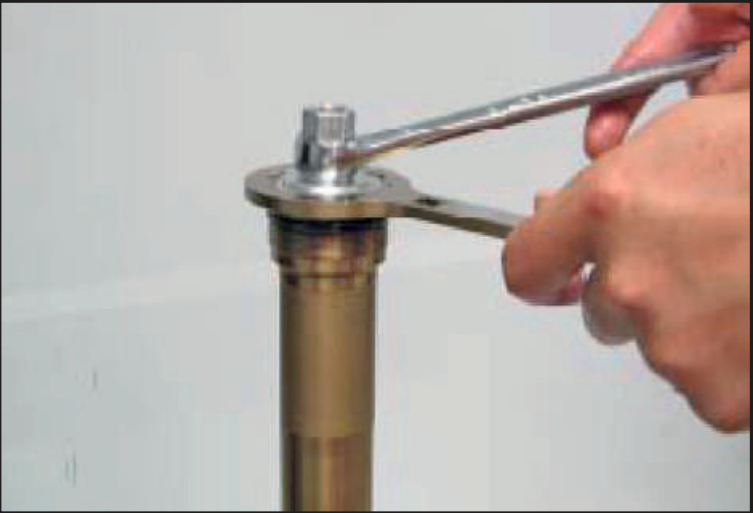
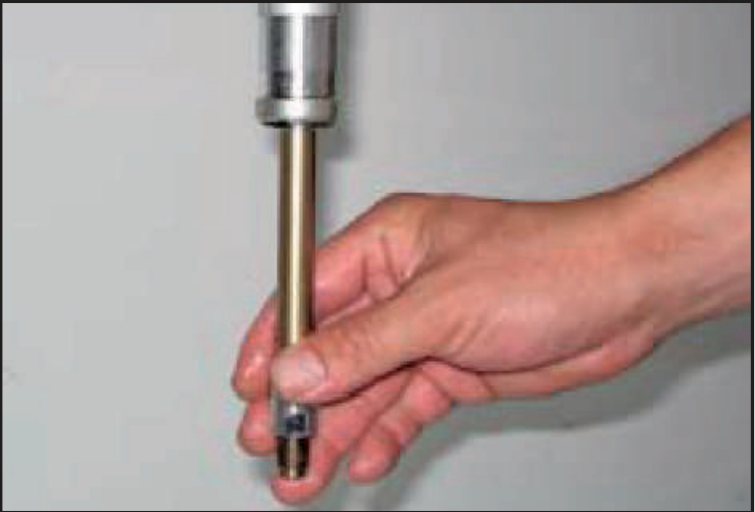
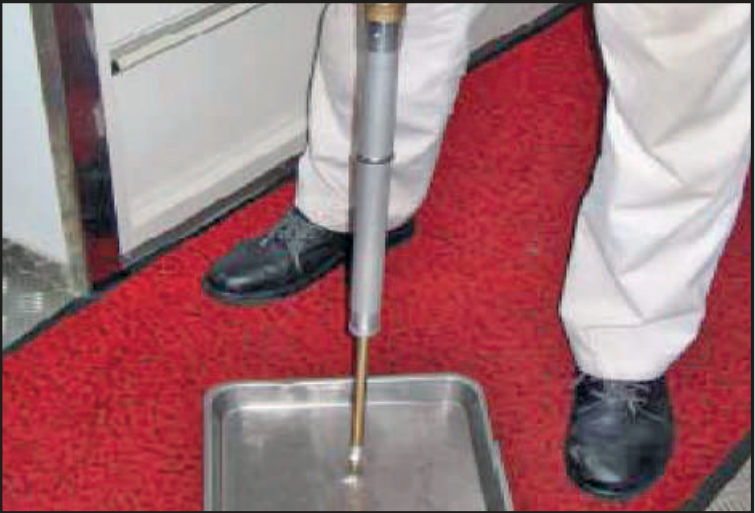
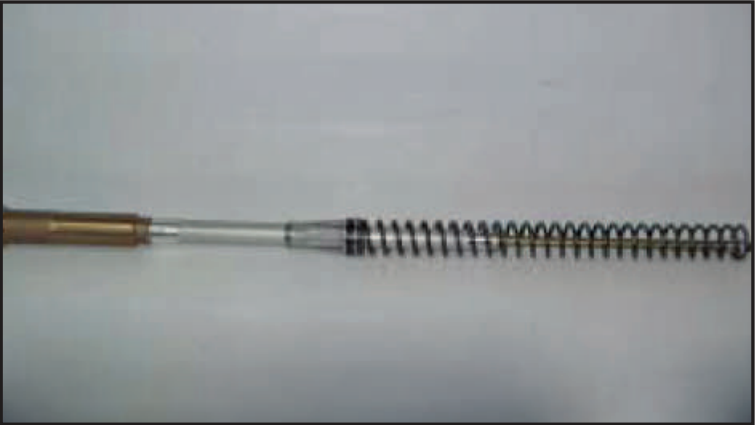
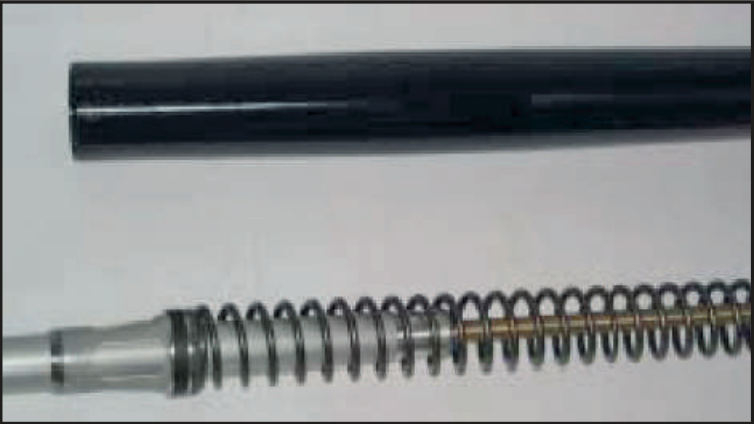
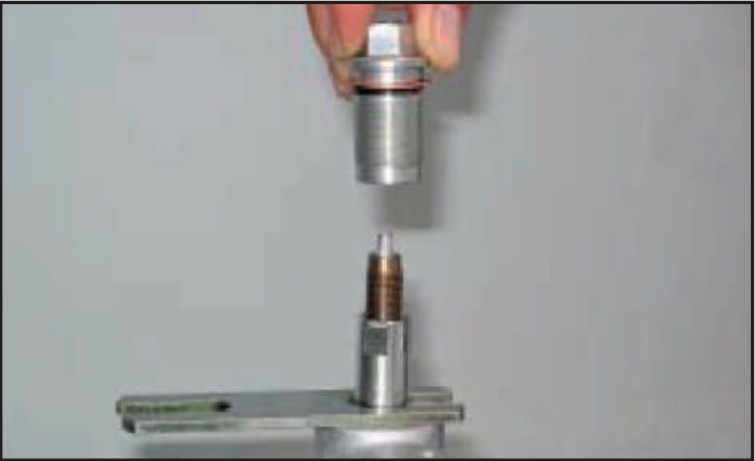
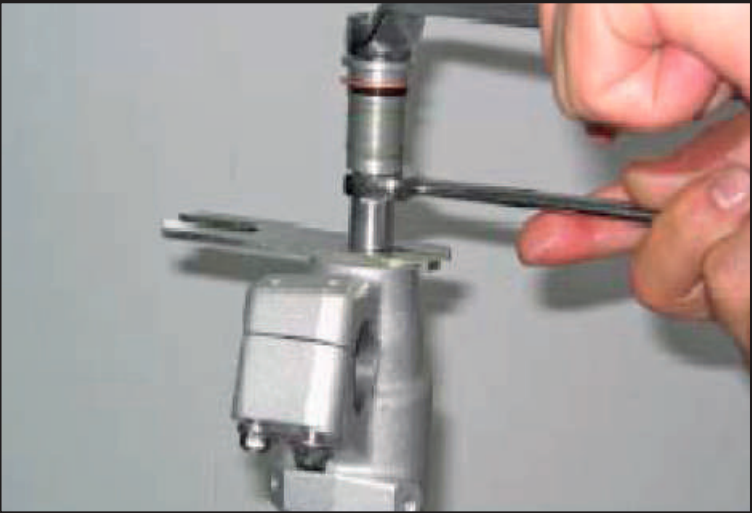
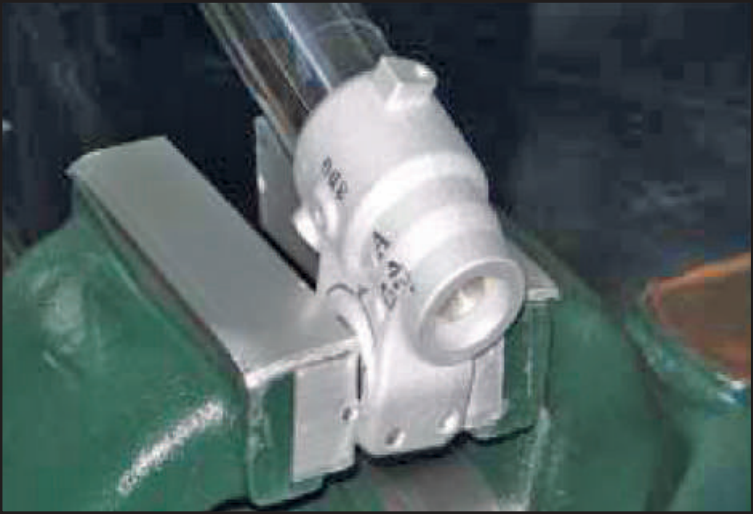
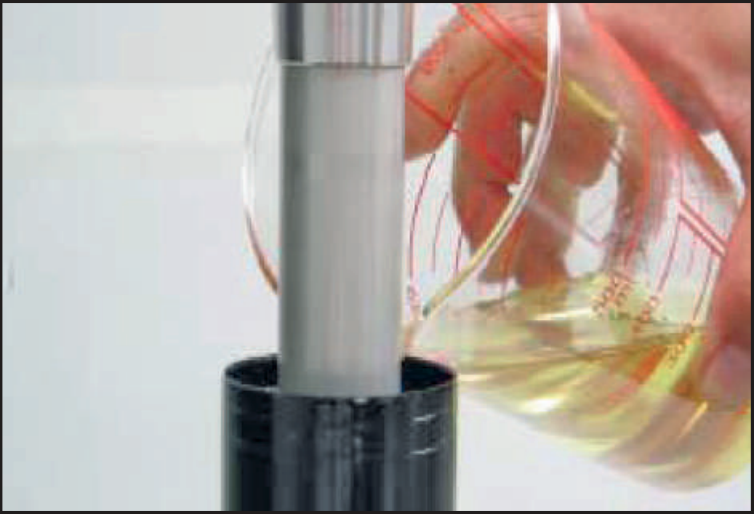
The tm motorcycles are equipped since 2008 (option until 2014) with a Kayaba 48mm fork, maintaining your fork by replacing the oil is an operation that must be done at least once a year, and ideally every 20 hours of riding. Replacing its oil and dust seals,  and slide metal on the fork of its tm racing is a manageable operation for everyone with minimum tools. We explain in this article the different steps. Whether you have a tm 125, tm 300, or tm 250 mx fi, the procedure is strictly the same.

Kayaba maintenance de la fourche étape 1

1 - Loosen the upper cap with the correct key (available on our webshhop).
NOTE : It is good practice to slightly loosen the caps before removing the fork from the motorcycle.

Kayaba maintenance de la fourche étape 2

2 - Eliminate the oil from the shock absorber unit

Kayaba maintenance de la fourche étape 3

3 - Block the wheel pin support and loosen the adjustment screw

Kayaba maintenance de la fourche étape 4

4 - Push the internal pipe downwards. Position the tool in the figure between the wheel pin support and the cartridge unit nut. Hold the nut in its housing with a wrench and remove the adjustment screw. Pay attention not to injure fingers.

Kayaba maintenance de la fourche étape 5

5 - Remove the cartridge assy from the external pipe.

Kayaba maintenance de la fourche étape 5

6 - Do not remove the nut in the lower part of the cartridge assy

Kayaba maintenance de la fourche étape 7

7 - Remove the foot valve unit from the cartridge assy. Use an appropriate tool to block the orthogonal external area of the cartridge assy. Use the same tool in the orthogonal internal area of the foot valve assy. Loosen the foot valve unit using a wrench.

Kayaba maintenance de la fourche étape 8

8 - Check that the OR rings on the foot valve unit are not damaged. Replace them, if necessary.

Kayaba maintenance de la fourche étape 9

9 - If the internal and external pipes are not disassembled, turn the fork over for at least 20 minutes to eliminate the oil completely

Kayaba maintenance de la fourche étape 9

10 - Remove the dust scraper using a flat tip screwdriver.

Kayaba maintenance de la fourche étape 11

11 - Remove the lock ring using a flat tip screwdriver.

Kayaba maintenance de la fourche étape 12

12 - Extract the internal pipe from the external one.
NOTE : To facilitate the operation, make the pipes run quickly (but carefully) forwards and backwards several times, until they are separated.

Kayaba maintenance de la fourche étape 13

13 - Remove the sealing rings and the metal rings mounted on the internal pipe. Do not re-use metal parts that have been removed. Replace them with new ones. Replace the damaged sealing rings. The washer and the lock ring can be re-used, if not damaged.

Kayaba maintenance de la fourche étape 14

14 - Check that the internal rod has no distortions or damage. Replace it, if necessary.

Kayaba maintenance de la fourche étape 15

15 - Check the extension register. Replace the damaged or rings. Replace if necessary.

Kayaba maintenance de la fourche étape 16

16 - Check the spring. Replace it if: The external diameter is damaged or excessively worn. The free length is equal to or less than 475 mm (18.7 in.).

Kayaba maintenance de la fourche étape 17

17 - Check the internal pipe. Replace it if distortions are detected. (Do not repair or re-use a pipe with distortions). If the pipe has surface defects, clean the surface with sand paper. If repair is not possible, replace the pipe. (Do not use an internal pipe if it is marked or has projections on the external surface).

Kayaba maintenance de la fourche étape 12

18 - Check the external pipe. Replace the pipe if distortions are detected or if the running surface is damaged

Kayaba maintenance de la fourche étape 13

19 - Mount the sealing rings and the metal parts on the internal pipe. For the mounting sequence, see the figure given below.
NOTE: Apply grease to the edge of the sealing ring. When mounting the sealing ring on the internal pipe, cover the end part of the latter with a plastic casing, as shown in the figure.

Kayaba maintenance de la fourche étape 15

20 - Mount the metal bush and the washer on the external pipe, inserting them into the housing with the aid of a guide. Mount the oil seal on the external pipe and insert it into the housing with a guide. Make sure that the grooves of the lock ring in the internal surface of the external pipe is clearly visible.

Kayaba maintenance de la fourche étape 16

21 - Mount the lock ring. Make sure that the lock ring is correctly in the housing in the grooves on the internal surface of the external pipe.

Kayaba maintenance de la fourche étape 17

22 - Mount the dust protector on the external pipe. Make sure there is no play between the dust protector and the external pipe.

Kayaba maintenance de la fourche étape 12

23 - Tighten the nut until it is locked on the internal rod. Make sure that the length of the threading on the internal rod is minimum 15 mm (0.6 in.).

Kayaba maintenance de la fourche étape 13

24 - Fill the cartridge with specific VROOAM 5W fork oil (200 cm3 - 12.2 in3 )

Kayaba maintenance de la fourche étape 14

25 - Eliminate the air from the cylinder by moving the piston rod up and down several times

Kayaba maintenance de la fourche étape 15

26 - Compress the piston rod completely and install the foot valve assy. With the foot valve assy mounted, check that the piston rod is completely extended.

Kayaba maintenance de la fourche étape 16

27 - Block the orthogonal external area of the cartridge assy. Use the same tool in the orthogonal internal area ofthe foot valve assy. Use a wrench to tighten the foot valve assy to 29 Nm (21.4 ft/lb).

Kayaba maintenance de la fourche étape 17

28 - Hold the cartridge assy with the end part of the piston rod facing downwards, as shown in the figure.  Pump the piston rod up and down approx. 10 times to distribute the oil evenly in all the assy

Kayaba maintenance de la fourche étape 12

29 - Drain the excess oil from the cartridge by moving the shock absorber unit along its entire travel. Pay attention not to deform or damage the piston rod or the other parts. Remember that the excess oil can escape from the lateral hole at the tank. If no oil escapes, it means that there is not enough oil in the cartridge.  Add oil to the cartridge before re-mounting it.

Kayaba maintenance de la fourche étape 13

30 - Clean the excess oil from the cartridge. Mount the spring guide and the spring on the cartridge assy

Kayaba maintenance de la fourche étape 14

31 - Insert the cartridge assy into the internal pipe.

Kayaba maintenance de la fourche étape 15

32 - Push the internal pipe downwards. Position the tool in the figure between the wheel pin support and the cartridge unit nut. Insert the internal rod into the piston rod and tighten the adjustment screw.

Kayaba maintenance de la fourche étape 16

33 - Tighten the adjustment screw to the stop position. Make sure that there is play between the lower part of the adjustment screw and the upper limit of the nut. Use a wrench to tighten the nut and adjustment screw to 28 Nm (20.6 ft/lb).

Kayaba maintenance de la fourche étape 17

34 - Block the wheel pin support and tighten the adjustment screw to it at 50 Nm (36.8 ft/lb).

Kayaba maintenance de la fourche étape 12

35 - Pour the envisioned amount of oil into the external pipe with VROOAM fork oil 5W: 320/340 cm3

Kayaba maintenance de la fourche étape 13

36 - Tighten the cylinder onto the external pipe at 29 Nm (21.4 ft/lb)

Your Kayaba 48mm fork is now revised and you are ready to ride your tm enduro or tm motocross. Note that the latest tm supermoto road legal (2019 / ..) is equipped with a 48mm Kayaba fork but the 2018 tm racing supermoto smr / smm as well as all tm racing smx are equipped with a 50mm marzocchi fork, therefore this tutorial is not valid. If you have any questions, please don't hesitate to contact us.

Look at our others tutorial :